Bespoke Painting of a Grade II Listed Hall in Warkworth, Northumberland
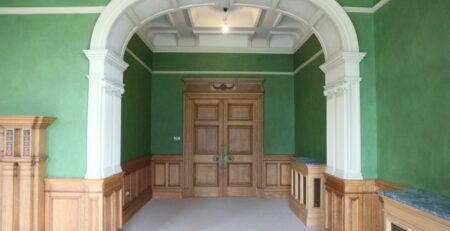
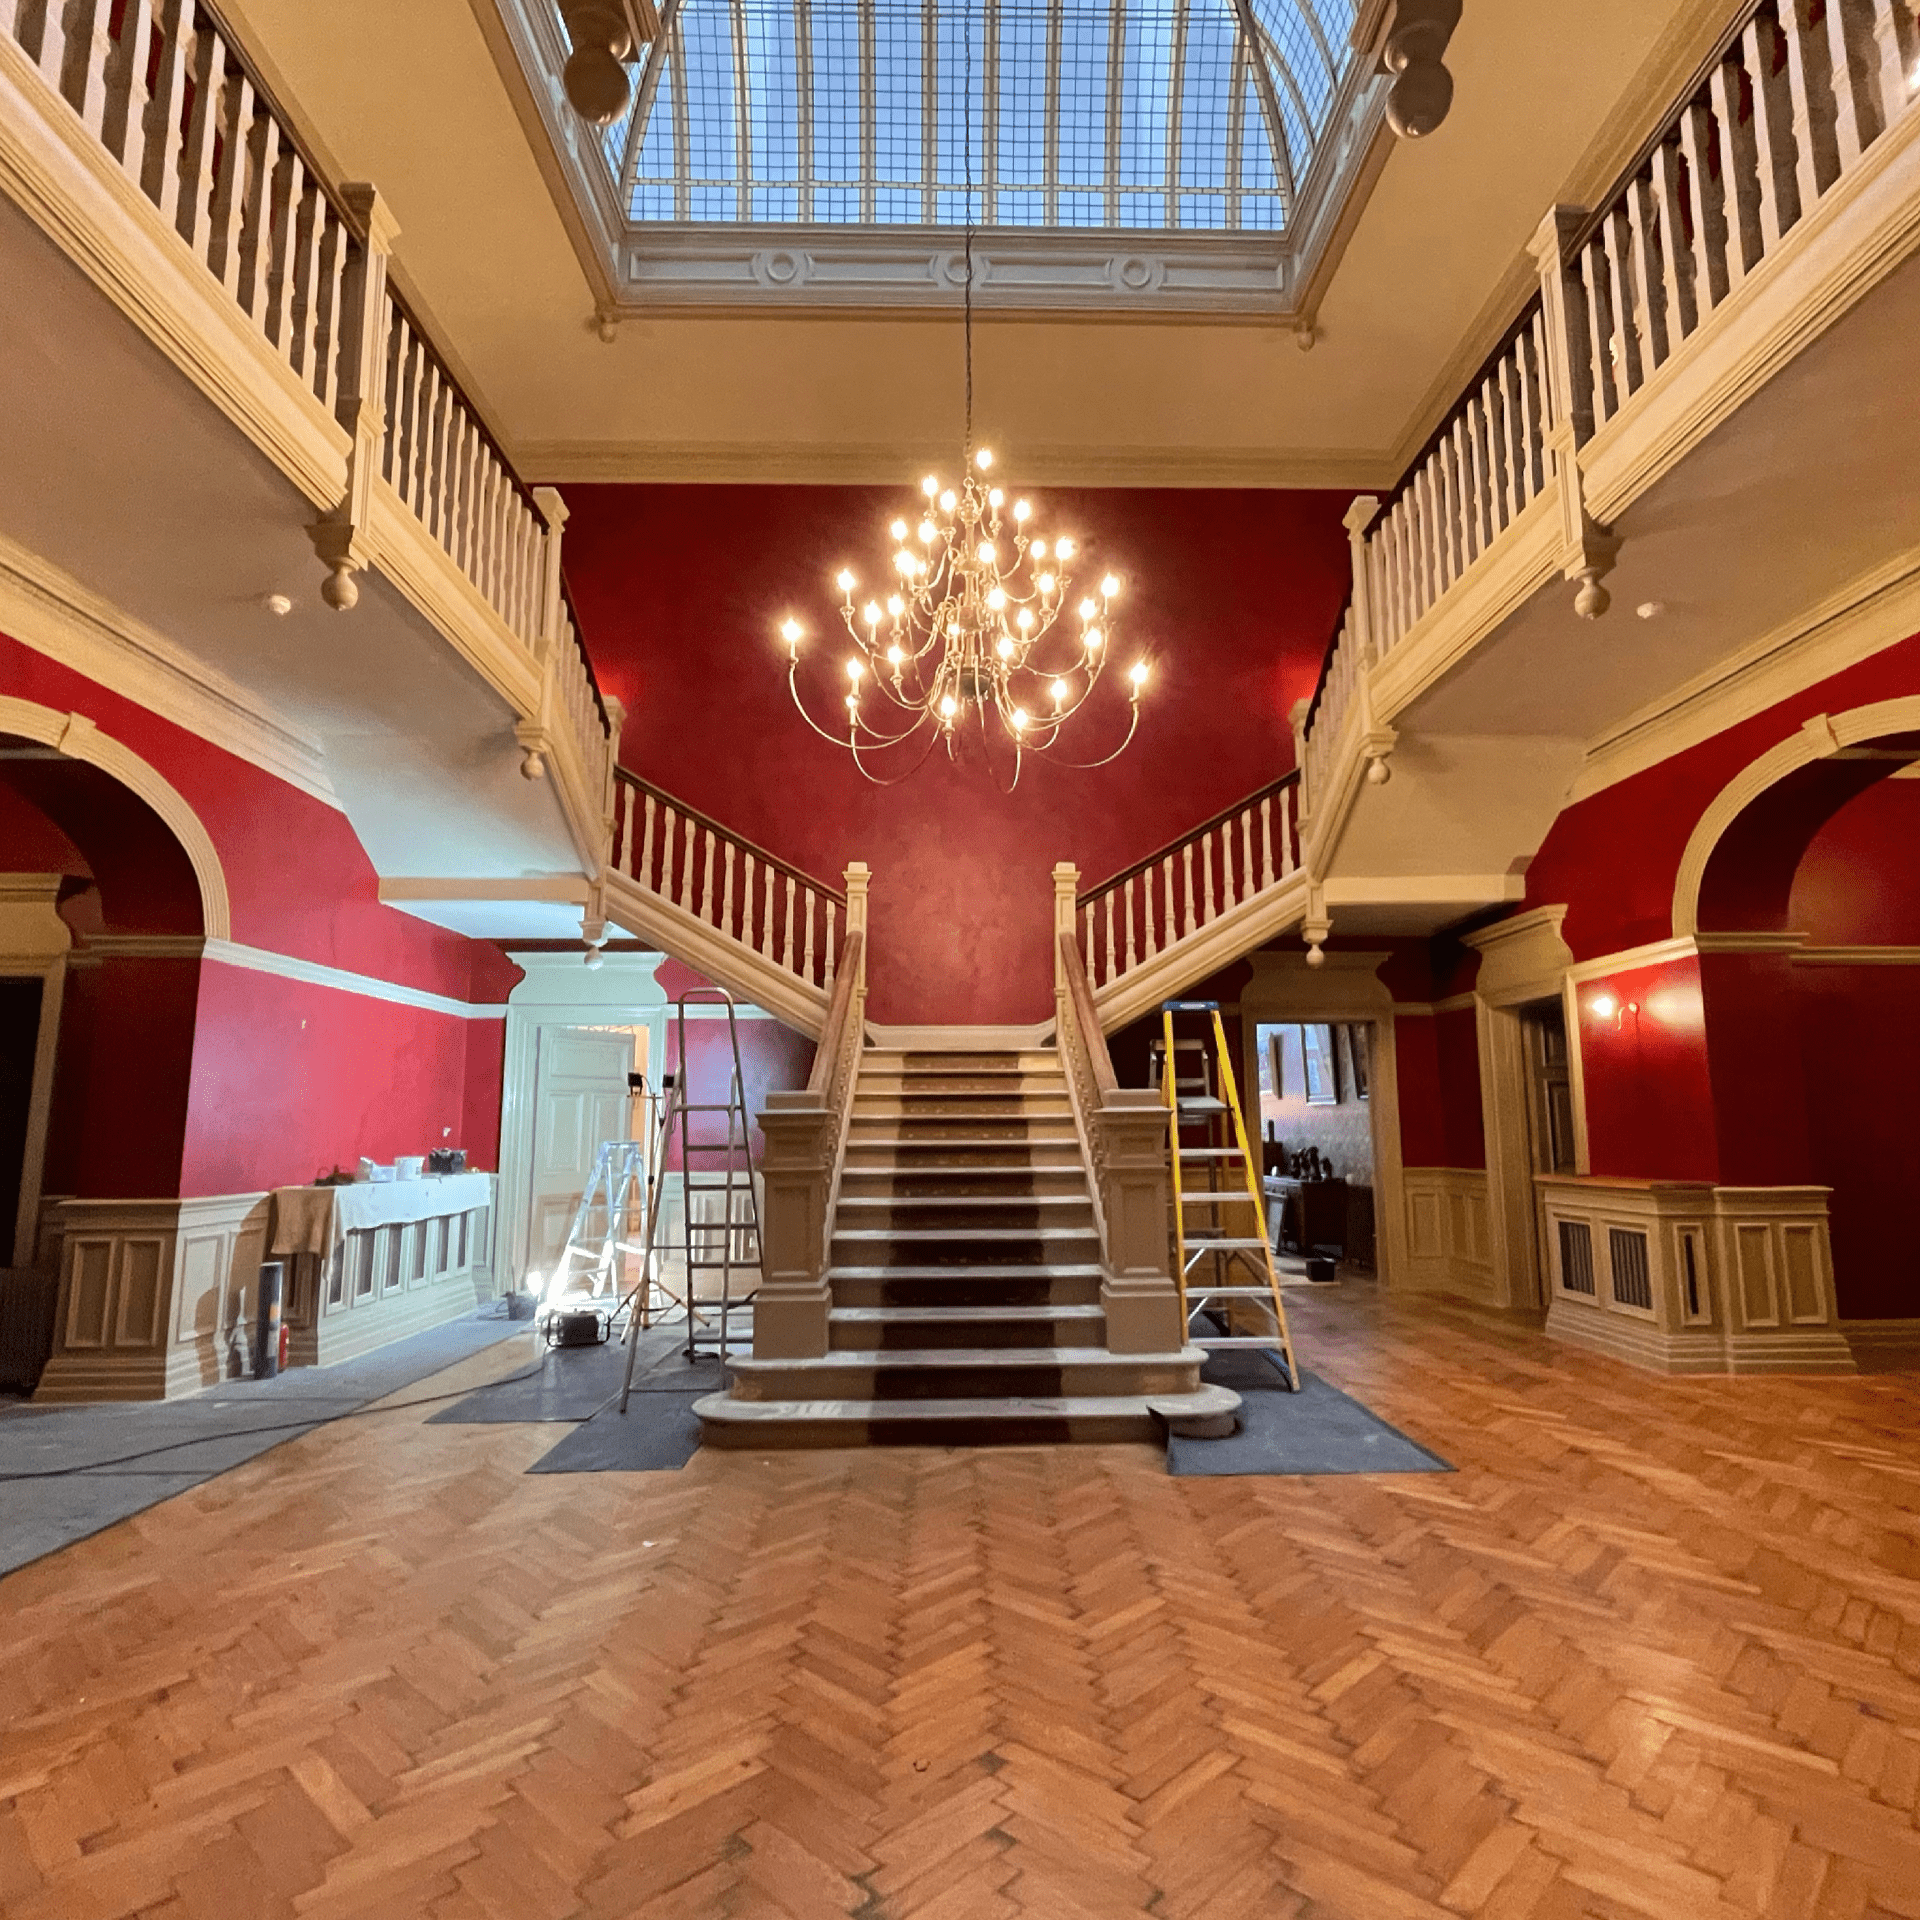
The completion of the Victorian Entrance Hall
Once a care home, this beautifully impressive Victorian hall in Northumberland is being lovingly restored to its former glory by it’s new owners as a private residence.
I was fortunate enough to be given the commission of designing and decorating the huge entrance hall.
After many set backs and deliberations the work finally began on January 4th 2021. The day the nation went into it’s third lockdown.
It was a 10 week commission that I had to navigate safely and lawfully right through to March 12th 2021.
Tricky to say the least.
Because of the sheer scale of the commission, the blog is massive too. So I’ve cut it into 3:
- Design.
- The Team and Preparation.
- Painting and Completion.
Painting and Completion
So all the lads had done a magnificent job preparing the work. It was down to me now to apply the specialist paint effects.
Every surface bar the ceilings, spindles and wallpapering had a paint effect on them.
This meant mixing up enough glaze, all in bespoke colours, for each section. Buckets and buckets of the stuff!
All the walls were to have 3 layers of cross hatched glaze on them. The woodwork glaze was to be dragged and some sections stippled, then varnished.

Wall Paint Effect
All this work could only be done by 1 person. 2 people trying to achieve the same effect would never work. The wall paint effects had to be ‘evenly uneven’ whilst all the woodwork had to have the same application of glaze and brush pressure to create the effects. There would be a huge disparity of finish if more than 1 person tried to achieve this.

Mixing the Glaze
Mixing the glazes is always a fine balance between colour, translucency and open time. Too much pure acrylic pigment and you lose the translucency. Too much clear acrylic glaze, the mix is too stiff and unmanageable, whereas too much water to thin the glaze and the glaze can split, or run. You can see from this shot how many tests I do to get the consistency exactly right. Then this needs to be balanced with the sheer volume of glaze needed. I’d say that I mixed well over 100 litres of the stuff for this commission.
Applying the Glaze
For the large walls, I tend to make a series of passes in applying the glaze. Top right to bottom left, top left to bottom right with the final glaze coat being more of a corrective coat for any areas I’m not entirely happy with, that are too patchy.
There was also a problem with light. The top scaffold lift blocked all the daylight, for what it was as we were working through winter, from the rest of the hall. The lighting had all be masked off to protect the fittings. So every one of the team was supplied with their own lighting rig and inspection lamps. We didn’t see actual daylight for weeks!

Title
It was imperative for good lighting as the paint finishes would be viewed under much brighter conditions once the hall had been finished so this needed to be emulated with artificial light.
I had to use my pass technique and light the work correctly whilst swinging off 2 lifts of scaffolding and various plank and ladder set ups. One coat per day, being vigilant for drips as wet glaze will pull same day dry glaze completely off leaving horrible scab marks in the paint effect.
Repairing the Glaze
These drips are very difficult to repair if not removed immediately and a right nuisance with me constantly shouting for one the lads to clear any spills up fast, as I was on top off the scaffold.
We managed it though, through teamwork.
Glazing the Woodwork
The woodwork felt like it took an absolute age to complete. There were 2 shades of glaze used on the doors and panelling. This created a soft, shaded and subtle paint effect. All dragged work. I also rubbed the glaze away from some areas of the moulding, again using subtle techniques to create depth and interest.
There was acres of it!
So through to reassembly
All the light fittings, sockets and switches were reinstated. This left quite a lot of snagging as the new flush fittings had to be refilled and rejigged about a bit.
Beautiful brass edging strips were attached to the corners where wallpaper met wall paint. This was a really effective and decorative solution to protect the delicate wallpapered corners.
I love this attention to detail.

Mosaic floor
The listed mosaic floor was cleaned.

Restoring to the Original Condition
Protective clear film covered some of the interior of the exterior windows. Another leftover from the care home days. This film was removed to reveal a lovely frosted dentil design to the windows.
There again, I love this part of my work. Uncovering lost details and restoring them back their original condition.

Nail Biter
The nail biter came when the lads came to take the scaffolding down. As previously explained, I still didn’t know if I’d water damaged the floor.
Well the floor was fine. However my blood pressure did go skyward when one of the scaffolders noticed a ‘snag’ in my work, high up. ‘You missed a bit’. Very bloody funny. Well, they thought it was!
Final Walk through
A walk through with the client in case of any snagging I’d missed and the commission was complete.
3 days ahead of schedule and on budget.

The Completion of the Victorian Entrance Hall
What an absolute pleasure and challenge this commission has been.