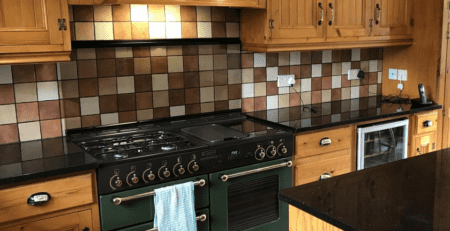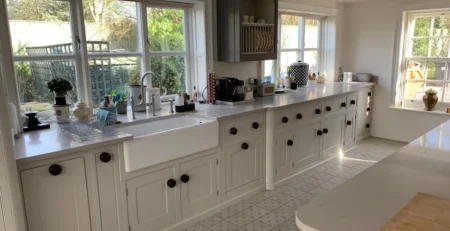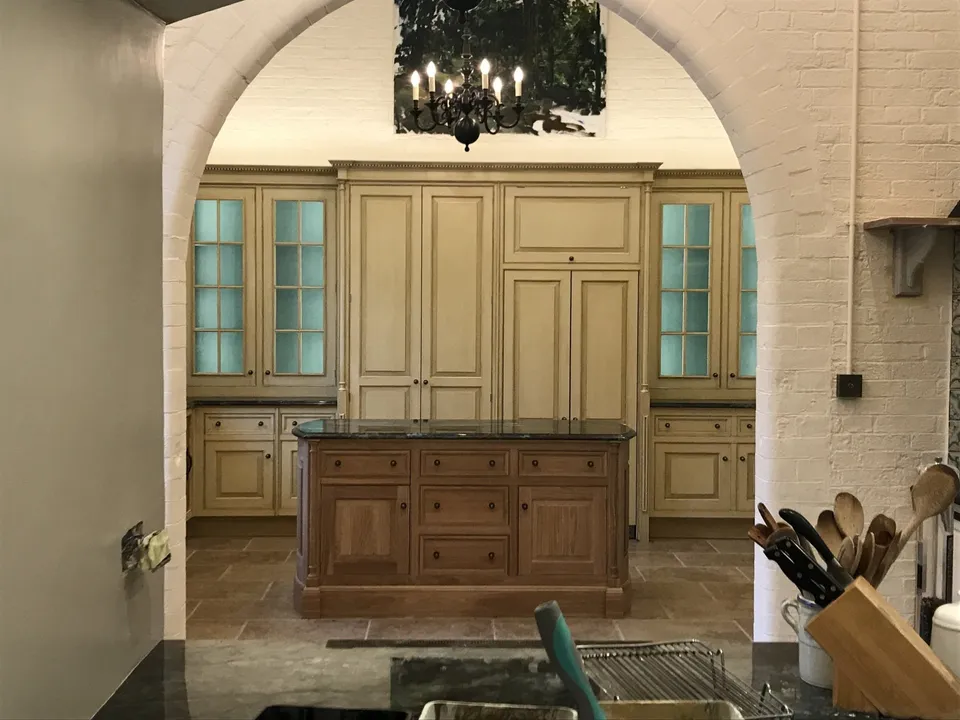
Smallbone Kitchen – Specialist Paint Effect
The Challenge
I didn’t start this Smallbone kitchen at the fit. A few painters were asked to pitch for it by the company. Someone else was cheaper and got the commission. However the poor chap wasn’t experienced enough to fulfil the brief and the job collapsed. I was brought in to rescue the kitchen and complete the commission. The challenge was in emulating the work he had already completed. He had used a complicated system of about 3 different glazes and varnish over a white basecoat.
I had to breakdown and analyse each layer. Then each glaze had to be replicated in the correct tone and consistency. The photos show the myriad of tests and trials I had to undertake to perfect the finish.
If you are ever going undertake a paint effect such as this, start with a coloured basecoat. It will half the work.

The Paint Effect
The pre determined white acrylic eggshell was painted as a base of 2 coats over a single coat of adhesion primer. This was sanded in between leaving a perfectly flat and smooth ground. Any nibs left in the base and the glaze would collect around them and have the finished paint effect looking pock marked. Any thinly painted areas and the glaze would soundly adhere to the porous areas leaving a horribly patchy finish. Neither of these end results were desirable!
For the panels, the glaze was brushed on using a 2.5” Purdy Sprig Elite. I then gently rubbed the excess glaze off and softened the whole panel with a 3” badger. This effect was repeated twice to achieve the desired colour, depth and quality of finish (as I have already mentioned, a coloured basecoat would have halved this process).
A darker glaze was applied to the fielding of the panels and fluted columns. This glaze was dry brush dragged out. Twice over.
The 3rd darkest glaze was painted onto the dentil cornice. The glaze was then wiped off leaving the dark glaze in the indentations. Then dry dragged over to smooth out any excess glaze.
Finally it was the varnish coat. Now this was a problem. If you’re ever going to varnish over paint please test first. You wouldn’t believe the pitfalls.
Firstly the varnish is (usually) the incorrect sheen. Secondly it dries too quickly and flashes (leaves a patchy finish). Thirdly, if it’s let down too far it cisses or splits.
The varnish that I had to use that was left by the previous painter had the first 2 problems (and I did have to use it as parts of the kitchen he had finished had this varnish applied to it. Using anything else and the completed paint effect would not match).
It was an absolute nightmare. All I can advise if you’re ever in this situation, is do the varnishing incrementally and use a hand held site lamp to check your work.

The Summary
To summarise. Don’t go with the cheapest quote! Check the painter’s credentials and expertise level. Websites and social media make this easier than ever. So after about 4 weeks of work the paint effect on the kitchen was completed. I’m sure you will agree that the finished kitchen looks absolutely beautiful and perfectly compliments the architectural structure of this magnificent private residence.