Preparing a Hall for Decoration in Warkworth, Northumberland
Blog Two of the decoration of the Victorian Entrance Hall – featuring the Preparation Team!
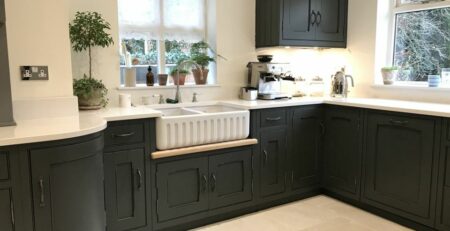
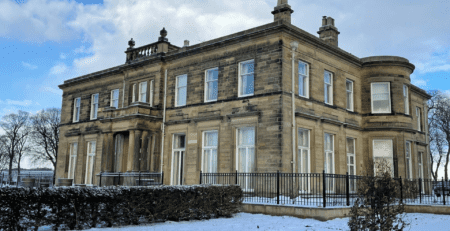
Once a care home, this beautifully impressive Victorian hall in Northumberland is being lovingly restored to its former glory by it’s new owners as a private residence.
I was fortunate enough to be given the commission of designing and decorating the huge entrance hall.
After many set backs and deliberations the work finally began on January 4th 2021. The day the nation went into it’s third lockdown.
It was a 10 week commission that I had to navigate safely and lawfully right through to March 12th 2021.
Tricky to say the least.
Because of the sheer scale of the commission, the blog is massive too. So I’ve cut it into 3:
- Design.
- The Team and Preparation.
- Painting and Completion.
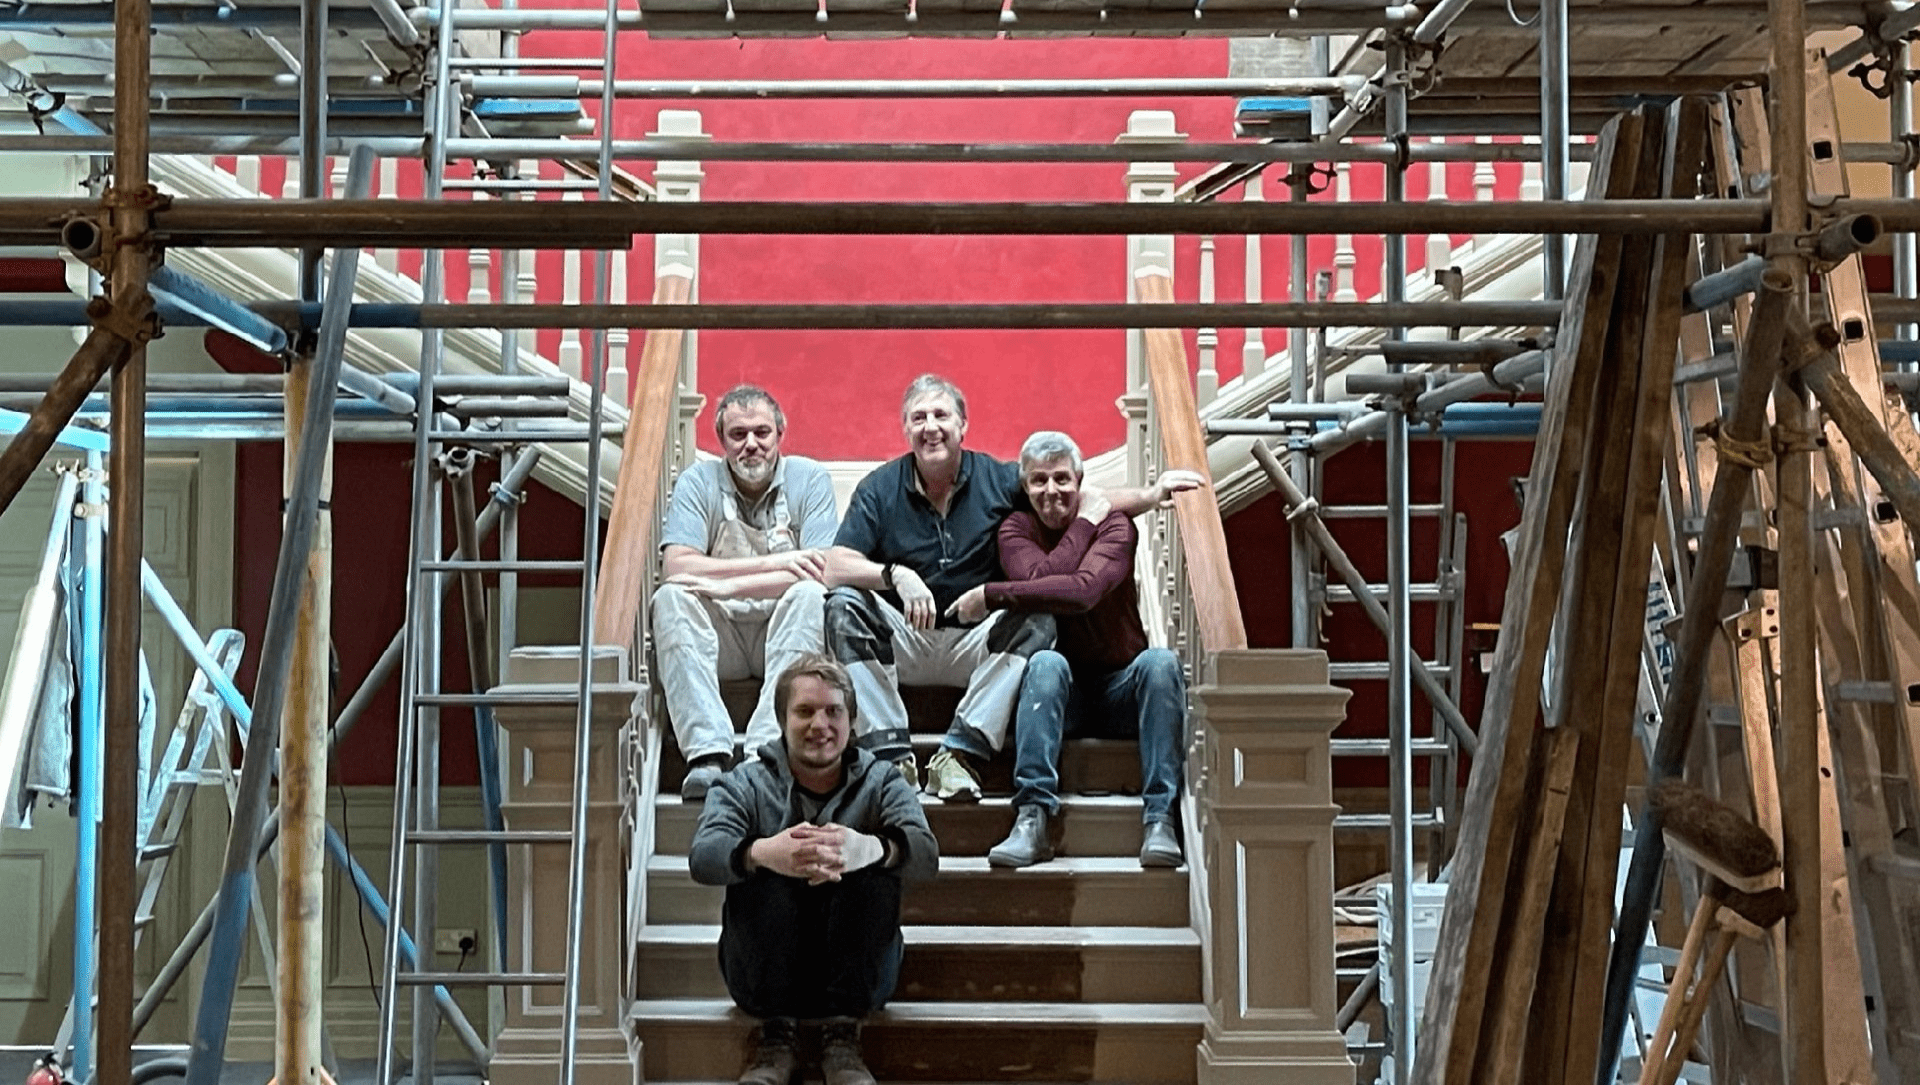
The Team and Preparation
I have worked with incredibly talented and hard working professionals for many years. For this commission I had to find a team that I could trust and that had exactly the right skill set to complete the work.
Also, we began this commission on the first day of the third lockdown. This meant we would have to create our own bubble by working together and actually living together. I hired a house for the duration of the work for this purpose. It all had to be thought through on many levels. Remember, there were no pubs, restaurants or cafes open. It was a rural location with no shops open outside our working hours. I had to import all food and drink both for the house and site. A kitchen that was safely distanced from the client’s household was set up as we were to be onsite for at least 11 hours each day.

Three Preparation Teams
I broke the work up into 3 teams. I needed a woodwork team, a wall team and er, me, the paint effect team..!
COVID and Lockdown meant planning well ahead was imperative. Supply lines for all the specialist paint (which was all of it!) were patchy. Whole companies having to isolate for 2 weeks because of infection, we’ve all experienced it. It was a nightmare.

Site Sampling
Site sampling the decoration well in advance was vital. I needed to make sure that there were no unforeseen problems lurking. That the paint was going to adhere, how much paint was going to be required. How many rolls of wallpaper, all in the same batch etc.
The hall had once been a care home. It turns out that they had used eggshell to paint the walls under a couple of layers of emulsion. I could see that the emulsion had bubbled in places giving me cause for concern.
Problems on the horizon
On closer inspection once I had applied my adhesion primer, top coats and glazes, it became apparent that my cause for concern was correct. I’d uncovered a total lack of adhesion right down to the care home eggshell. All the layers of emulsion on all the walls would have to be stripped off. With industrial steamers. God what a mess that can make!

Crisis Averted!
Also, the main floor of the hallway is original oak parquet. Get oak wet and it turns black. So not only did I have to use steam with wet paint falling to the floor, the 3 lifts of scaffolding (left outside wet, all winter) had to be erected on the same floor. I has visions of water pouring out of the scaffold poles and water from the steamers pooling all over this damn floor.
A bit of organisation and forethought but mainly the fantastically proficient wall team and superb scaffolders, ensured no damage occurred.
Talking of the scaffolders, you should have seen them moving the giant poles in and out. How they didn’t pop any holes through the stained glass dome with them beggars belief. Honestly, my nerves were shot!

Massive Restoration
Again, because of the hall once being a care home, medicine and food trolleys had been persistently bashing all the woodwork. There were 2 full lines of damage going right across all the doors, arcs and panelling. It took many kilos of Ronseal ‘Two Pack’ Wood Filler to repair the damage and hundreds of Festool sanding sheets to prepare all the wood. Then all the wood was primed with adhesion primer and 2 coats of Teknos 20 topcoat. Ready for me to glaze and varnish.

The ceilings and walls had their problems too. Water damage from the stained glass domed ceiling and crazing of the wall plaster meant just under 100 kilos of filler had to be used to repair it all. A massive job.
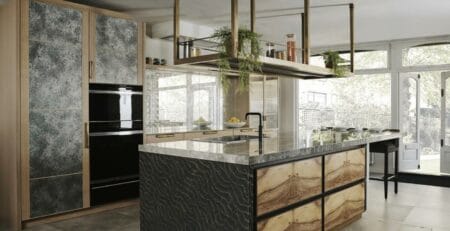
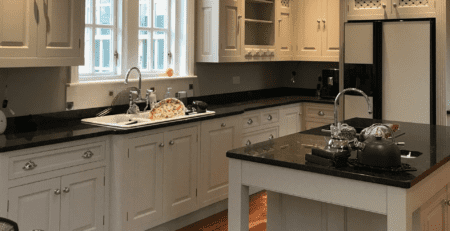
You can see here the process from prep to basecoat.
Building up the Basecoats
The red basecoat had to be hand applied leaving a cross hatched finish. The lads did a great job of it for me to then begin glazing.
It worked well having the 3 scaffold lifts. It meant that once the domed ceiling was prepped, I could begin glazing and varnishing whilst the lads dropped down onto the first floor to prep that for me and so on.

Working the Schedule out
As I have previously mentioned, it was vital to site sample, this was how I was able to calculate and schedule all the man hours needed for the preparation. It took 4 lads 8 weeks of 11 hour days to complete the preparation which was exactly on schedule.
Staircase Restoration
Ted spent most of this time preparing the staircase. It was a huge undertaking as there were many layers of drippy paint on the spindles with bad adhesion going down to the original brown scumble. It all had to be scraped, sanded and filled before the lads could even begin to prime it.
So all this effort only brought the commission up to the paint effect level which I’ll cover in the next blog.